Foodbuzz Banner

Find What You're Looking For

Showing posts with label sides. Show all posts

Wednesday, January 11, 2012

Rich, No Yeast Cheese Biscuits


My motivation for working out is quite simple. One phrase resounds in my mind over and over. No, it is not the instructor telling me that I'm going to have a wonderful body, pain is a good thing, and I'm going to love the results. "Let them eat cake." Yup - it's that simple. A princess, not knowing the living conditions of her servants, asked that they be given brioche when she heard that they had no bread. Brioche is a rich and buttery French pastry. What a nice princess. I'd be her servant. 

Although brioche sounds divine, I don't need a French pastry. Just give me some sour cream and cheese in the form of a delicious biscuit and dangle it in front of me while I work out. Yup, that's all the motivation I need. 

Ingredients
2 cups flour
1 teaspoon baking powder
1 teaspoon salt
1/2 teaspoon garlic powder
1/2 teaspoon baking soda
1 cup Cheddar cheese cubes
1 cup sour cream

Ingredients
Preheat oven to 500°F for 15 minutes before baking.
Spray a cookie sheet with non-stick spray or line with parchment paper.

In a large bowl, whisk together flour, baking powder, salt, garlic powder and baking soda.

Place the cheese in a blender or food processor to coarsely grind or use a hand grater. Add grated cheese and sour cream to flour mixture and mix well.

Turn dough out onto a lightly floured board and knead gently for 1-2 minutes. Either roll the dough out to 3/4 thickness and cut with a biscuit cutter or use a spoon to plop two tablespoons of dough onto cookie sheet.

Bake for 10 minutes or until golden brown. 

Source: adapted from Cooks.com

Friday, November 11, 2011

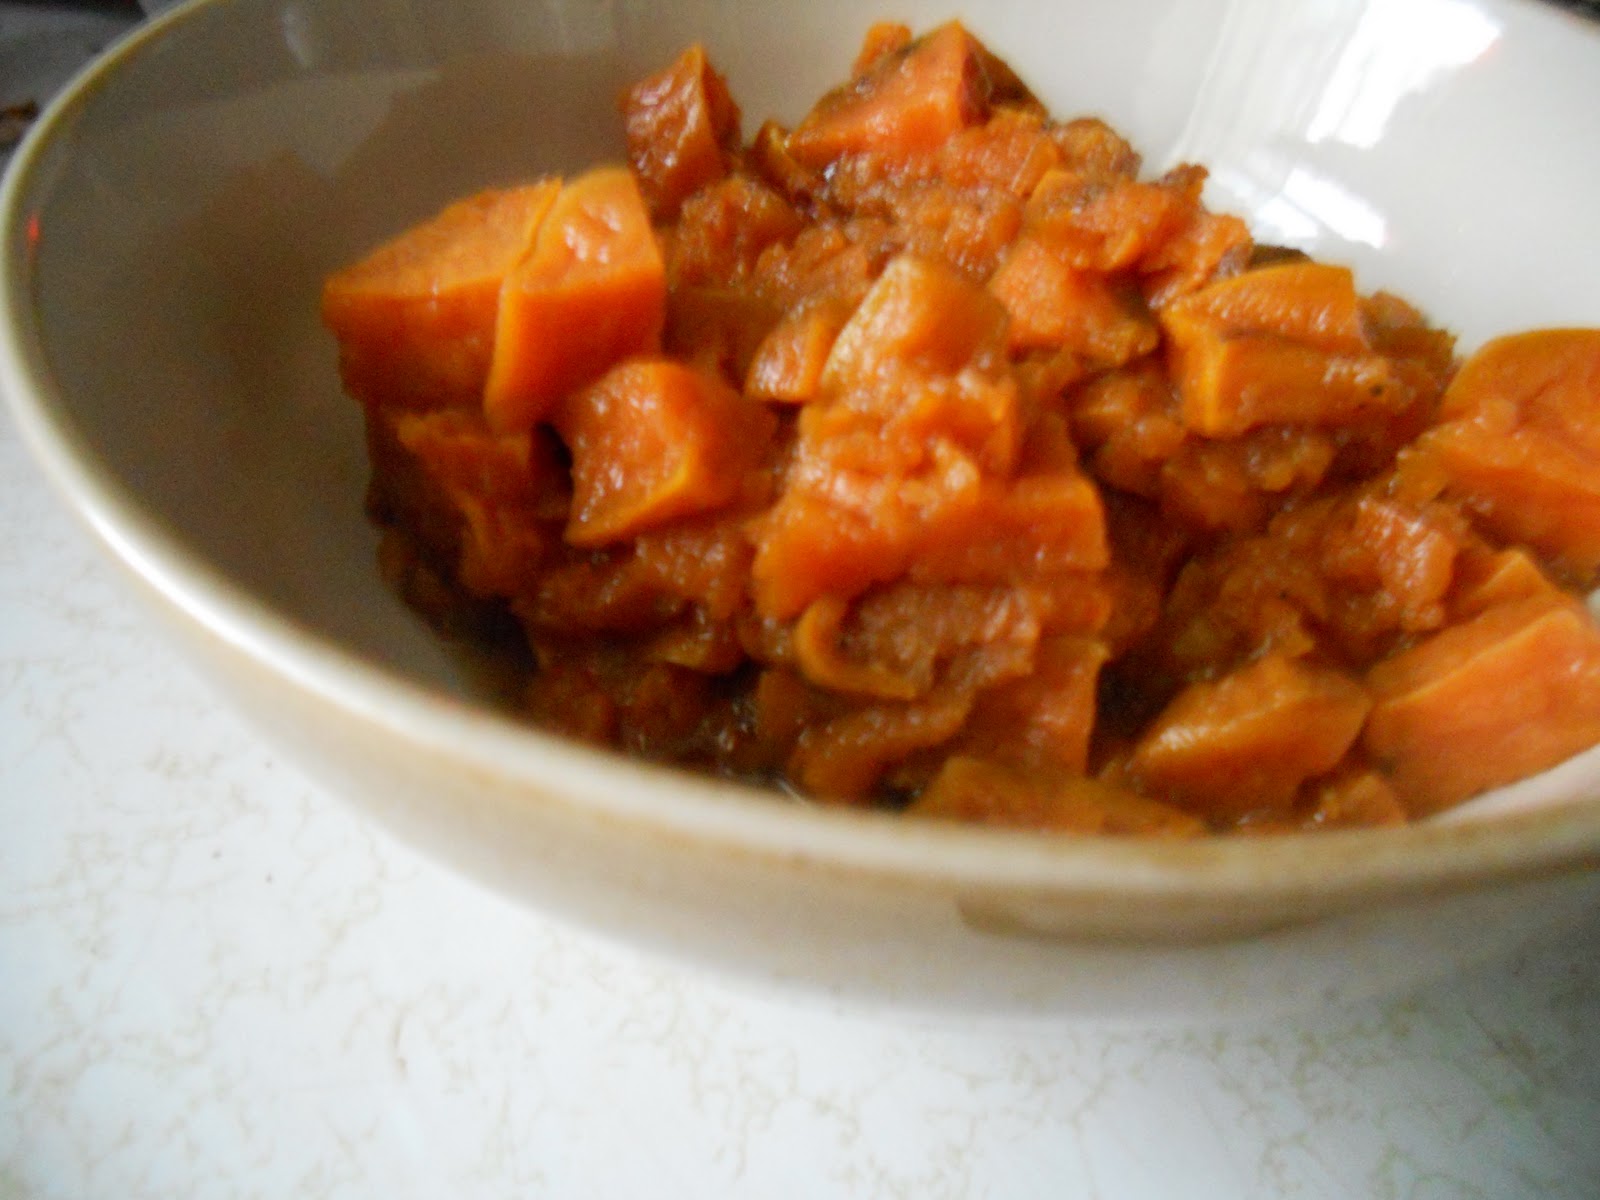
Skillet Glazed Sweet Potatoes


DJ is crazy about sweet potatoes. I have never been a fan. At family gatherings for holidays, sweet potatoes are always be part of the menu - and previously, I'd always pass over them. 

Wanting to make something different, I decided to try this recipe for glazed sweet potatoes. I am now a glazed sweet potato convert. This recipe came together simply and easily - and I had all of the ingredients. This is a simple version of sweet potatoes to think about for the upcoming Thanksgiving holiday. Stay tuned next week for a deliciously, slightly more involved sweet potato recipe that is sure to impress and my very first giveaway.

Have a wonderful weekend! See you Monday!


Ingredients1/2 cup brown sugar
1/3 cup water
1 tablespoon butter
1/4 teaspoon salt
3 medium sweet potatoes, cooked (peeled and cubed in 400 degree oven for 20 minutes)
DirectionsIn a heavy skillet, combine brown sugar, water, butter, and salt. Simmer for 5 minutes. Add sliced sweet potatoes. Simmer for 10 minutes, turning frequently.


Thursday, July 7, 2011

Haluski


There are several things I love about summer. One of the top three is definitely the farm stand that goes up with all kind of yummy produce. I am a little skeptical of the plastic wrapped lettuce, but you can't beat the cherry cider or cabbage. Usually, summers involve spending at least one week in South Carolina. This year, Dan and I decided against making the 12+ hour trip in a car with a two year old. 

With the rest of the family on vacation, I was in charge of taking my grandmother grocery shopping or anywhere else that she wanted to go. It was nice to spend time with her. We used to always cook together - and haluski is one thing that we would always make. The recipe that I use is a slight adaptation from the method that my grandmother used. I find haluski tastier if it is pan fried. Now, I make myself a giant skillet and shamelessly eat it all with fresh cabbage.

Ingredients

4 cups wide egg noodles
1/2 cup butter
2 cups sliced sweet onions, about 1/8 inch thick
2 teaspoons brown sugar
6 cups cabbage, sliced thin
1 teaspoon caraway seed (optional, I excluded these)
1/2 teaspoon salt
pepper

Directions

Cook noodles according to package directions, then drizzle with a bit of oil to prevent the noodles from sticking together and set aside. While noodles are cooking, melt butter in large deep skillet over medium-low heat.

Add onion, sprinkle with brown sugar and sauté, stirring occasionally for about 5 to 10 minutes, or until softened and just beginning to turn golden. Add cabbage to skillet, stirring well to incorporate with onion, and sauté for about 5 minutes, stirring occasionally.

Stir in caraway seeds if using, then cover, reduce heat to low and let simmer for 5 to 10 minutes.  Turn heat back to medium, add cooked noodles, salt and pepper, and stir well until noodles are heated though.  Adjust seasoning to taste and serve hot.

Source:  adapted from Kelly M., Food.com


Thursday, May 12, 2011

Pineapple Salsa

Wow...two days in a row, I am on a roll! Yesterday, I finally got around to posting the Hoisin-Ginger skewers that I was given in a recipe exchange far too long ago. When browsing the web for similar recipes to branch out the recipe and improve it, I came across this pineapple salsa.

Having gone a couponing adventure that included ten cans of pineapple, I knew that this salsa would be the perfect compliment to the beef skewers. The salsa was light, refreshing, and the perfect blend of sweet and tart to accompany the beef. It made a perfect combination...like DWTS Bruno and overreacting (How sad I will be when the season ends.)  The best part? Two step directions. That's right folks, two steps. Yay! Quick, easy, delicious...win, win, win.

Ingredients
1 cup diced fresh pineapple
1/2 cup diced red bell pepper (I had green)
1/2 cup diced cucumber (I didn't have a cucumber, so I left it out)
2 teaspoons rice vinegar


Directions
Combine Pineapple Salsa ingredients in small bowl and set aside to marinate while cooking beef. With a spoon(ula), toss ingredients and serve alongside beef.

Source:  adapted from culinary.net

Tuesday, April 26, 2011

Lentil and Rice Casserole


Happy Tuesday! I love easy Tuesday dishes. Made ahead of time, or even better - preppred quickly that day and baked off, is essential for busy Tuesdays when I am only home for an hour and a half. 

Other than this side dish being very tasty, the best part is the prep time. I guarantee you that when you set your oven to preheat, you will have all of the items mixed together and ready to go in the oven by the time the buzzer goes off. 

Ingredients 

3 cups broth (chicken or vegetable)
3/4 cup lentils
1/2 cup brown rice
3/4 cup chopped onion
1 teaspoon Italian seasoning
heaping ¼ teaspoon garlic powder
1 cup grated cheese (cheddar or a blend is preferable)

Directions:

Preheat the oven to 300 degrees.
Mix all ingredients except the cheese in a baking dish. Cover with foil and bake for 1 hour 10 minutes. Remove foil, add the cheese, and bake for an additional 10 minutes or until cheese is melted.


Saturday, April 16, 2011

Summer Succotash


I have a fourteen year old nephew. He is a punk. I take my job of making him feel as embarrassed as possible very seriously. He is taller than me...and I call him Skip-ola. I am the only one that he actually allows to call him that.  He's your typical teenager that loves three things: sleep, video games, and drinking obscene amounts of Pepsi and chocolate milk. 

Sometimes, especially when we were first married, Skip would love to come over and play. Bust out the Xbox and the boys would be busy for hours - until their stomachs let them know that the potato chips just aren't enough and it's time to eat. Skip's a pretty picky eater. Like most kids, it must not taste like a veggie. When my sister in law came to pick up Skip that night, he asked her to ask me for this recipe. She was amazed that he had actually eaten vegetables. 

The best thing is that this recipe is adaptable  based upon the produce that you have on hand. I didn't have bacon or lima beans, so left them out. Feel free to add them! My standard mixture is zucchini, cherry tomatoes, and corn. Oh, and it takes no time at all to whip up - bonus!

Ingredients
2 small zucchini, sliced
3/4 pound cherry tomatoes (about 1 1/2 pints)
4 ears corn
1 small Vidalia onion or other sweet onion
1 large garlic clove
1 1/2 tablespoons olive oil
1 tablespoon white vinegar
 

Directions
In a skillet, add olive oil over medium heat. Working in batches, add zucchini slices and cook, approximately 2 to 3 minutes per side to become golden brown. The time it takes may vary depending on the thickness of your slices. The thicker the slice, the longer time it will take.
 
Meanwhile, cut larger cherry tomatoes in half. Working over a bowl to catch the juices, cut corn kernels from cobs. Chop onion and mince garlic.

Add onion to zucchini and cook until onion is softened. Add garlic and cook until fragrant, about 1 minute. Add tomatoes, corn, and vinegar. Allow to cook, stirring occasionally until tomatoes just begin to lose their shape.
Add salt and pepper to taste and serve.

Source: adapted from Herbed Summer Succotash, Epicurious

Friday, April 15, 2011

Recipe Swap - Whiskey Glazed Carrots


I am not even done telling you about Michelle's meal, but I have to share these carrots with you. And not just because they are absolutely delicious, but it is also for a recipe swap for What's Cooking? This recipe comes from Taste of Home Cooking...one of the blogs that I frequently read. I was so excited to see my swap recipe from her.

Ree Drummond, the Pioneer Woman, says that these carrots are major league yum. She is right on. I ate half of the batch before they even made it to the table. I don't really cook with booze too often. When I told my mom that I was making whiskey glazed carrots, she looked confused. Then I explained that I am going to get buttery, sugary carrots nice and schnookered (her word for drunk.) Then she asked me to bring them for Easter dinner.  Sure thing, Mom.

Ingredients
1 stick Butter, Divided
2 pounds (to 3 Pounds) Carrots, Peeled And Cut Into Thick Circles
½ cups Jack Daniels Or Other Whiskey
¾ cups (to 1 Cup) Brown Sugar
½ teaspoons (to 1 Teaspoon) Salt
Freshly Ground Pepper, to taste

Directions
Melt 1 tablespoon butter in a large skillet over high heat. Add carrots in two batches, cooking for 60-90 seconds each batch. Remove from skillet.

Pour in whiskey and allow to evaporate 30 seconds. Reduce heat to medium, and add remaining butter. When butter melts, sprinkle brown sugar over the top. Stir together, then add carrots to skillet. Cover, and continue cooking for 5 minutes.

Remove lid and add salt and pepper. Continue cooking until carrots are done and glaze is thick, about 5 more minutes.

Pour onto a platter and serve immediately. Sprinkle with chopped chives if desired.

Thursday, April 14, 2011

German Potato Salad


When planning for Michelle's visit for dinner, the sides were an absolute breeze to decide on. I knew that this tangy, warm potato salad would be the perfect compliment to the sirloin burgers. Yum.

I have made this recipe tons of times. It was one of the first recipes that I successfully made when learning to cook. I make it for picnics, birthday parties, and just casual nights at home. It is always a big winner - who doesn't like the combination of sour and sweet? Add the saltiness of the bacon to the mix and you have a real winner.

Ingredients
4 potatoes
4 slices bacon
1 tablespoon all-purpose flour
2 tablespoons white sugar
1/3 cup water
1/4 cup white wine vinegar
salt and pepper to taste

Directions:
Place bacon in a large, deep skillet. Cook over medium high heat until evenly brown. Drain, crumble and set aside. Reserve bacon fat.

Bring a large pot of salted water to a boil. Add potatoes; cook until tender but still firm, about 15 minutes. Drain, cool and chop.

Add the flour, sugar, water and vinegar to skillet and cook in reserved bacon fat over medium heat until dressing is thick, approximately ten minutes. Add bacon and potatoes to skillet and stir until coated. Cook until heated and season with salt and pepper. Serve warm.

Source: April, AllRecipes.com

Thursday, April 7, 2011

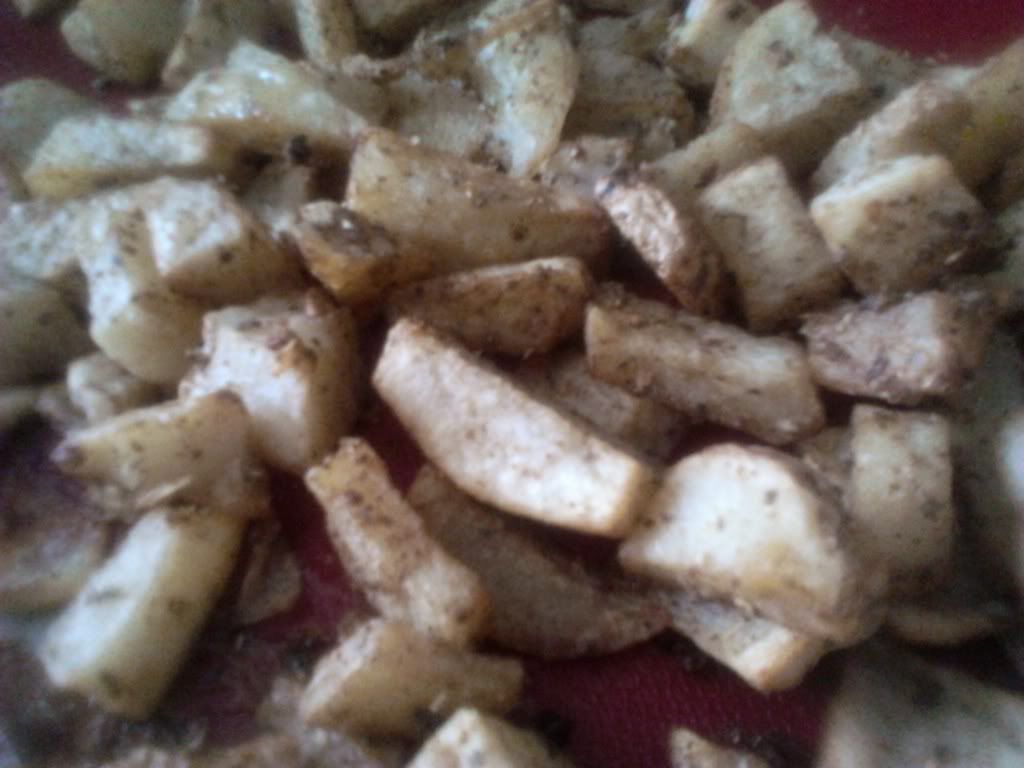
Mexican Roasted Potatoes

One of the things that I love about trying new recipes is that you never know what to expect. A meal that you plan to blow you away has the possibility to let you down. The other possible outcome is being totally shocked and amazed by something that you planned because it seemed simple and it completely steals the show. That, my friends, is exactly what these potatoes are. 

To be honest, I can't really remember what exactly I made for these potatoes to be a side for. They were that good. They definitely are a show stealer. My husband would take a handful of these each time he walked into the kitchen when the meal was done and over. They were gone in no time. And, in case you are wondering, they are toddler approved as well. The only change that I made was to get rid of the Dijon mustard. Feel free to add a tablespoon into the mix if you'd like. I hope that you add these sometime to your fiesta! 

Ingredients
8 medium potatoes, peeled and diced
1/3 cup of olive oil
2 teaspoons dried oregano
1 teaspoon ground cumin
1/2 teaspoon sea salt (plus more to sprinkle on top)
freshly ground black pepper
3 garlic cloves, minced
1/8 teaspoon cayenne powder
1 lime, juiced (or more to taste)
DirectionsPreheat the oven to 400 degrees.
Combine all of the ingredients except the potatoes and lime in a bowl and wisk together to mix. Pour your diced potatoes into the bowl and toss with the oil mixture. Sprinkle with salt and freshly ground pepper.
Roast for about 40 minutes, until the potatoes are well cooked, and browning on the edges. Take out of the oven, and sprinkle the juice of one lime over it. Add more lime juice or salt, if needed and serve.

Source: The Nourishing Gourmet

Wednesday, April 6, 2011

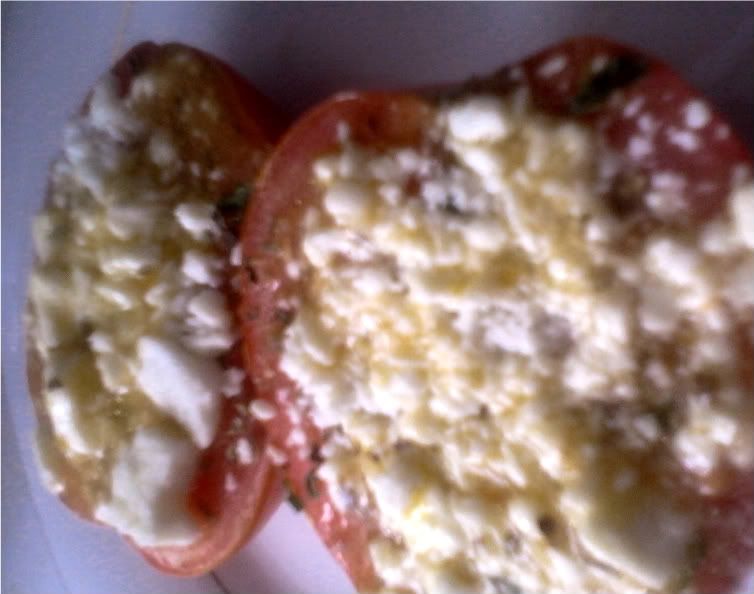
Broiled Tomatoes With Feta Cheese


I love my phone. If I could marry it, I would. I annoy my husband with how often I am on it. I like to catch up on blogs, read the latest news, and search for new apps in the marketplace. I used to search for recipes online, which would take forever...then I found the What's For Dinner app. I am in love. I type in the meat or ingredient that I am looking to use, it searches the web, and brings up a pretty little list of all of the recipes that fit the criteria I enter. It will be perfect for all of the produce that I will buy in the summer. 


Summer doesn't just bring produce. It brings bike season too. For me, this means weekend outings on the motorcycle for my husband. Not that I mind. I actually enjoy the one-on-one time with DJ and enjoy taking him to the park to play or for a walk around the neighborhood. I made this recipe while DJ was napping one day and it was just me. I typically don't cook with feta cheese, but I had some in the refrigerator after the first recipe swap, along with plum tomatoes that needed to be used up ASAP. This was quick, simple, and delicious. The only change I will make the next time is to try dipping the tomato in the Italian dressing first. I have the feeling that it will help the seasonings and cheese adhere better to the tomato. I will have to try it out and update this entry based upon my results. Overall, the perfect quick little snack...thank you, What's For Dinner app. We are going to be wonderful friends. 


Ingredients
6 plum tomatoes
1/2 teaspoon Italian seasoning
2/3 cup crumbled feta cheese
1/4 cup Italian dressing
salt and pepper to taste


Directions
Preheat broiler to high. 


Cut tomatoes in half lengthwise and place cut side up on a baking sheet. Sprinkle evenly with salt and pepper to taste, Italian seasoning, and feta cheese. Drizzle evenly with 1/4 cup Italian dressing. 


Broil 3 inches from heat (this was the top rack for my oven) two to three minutes or until the cheese starts to turn a golden shade of brown. 


Source: Southern Living, MyRecipes.com

Wednesday, March 23, 2011

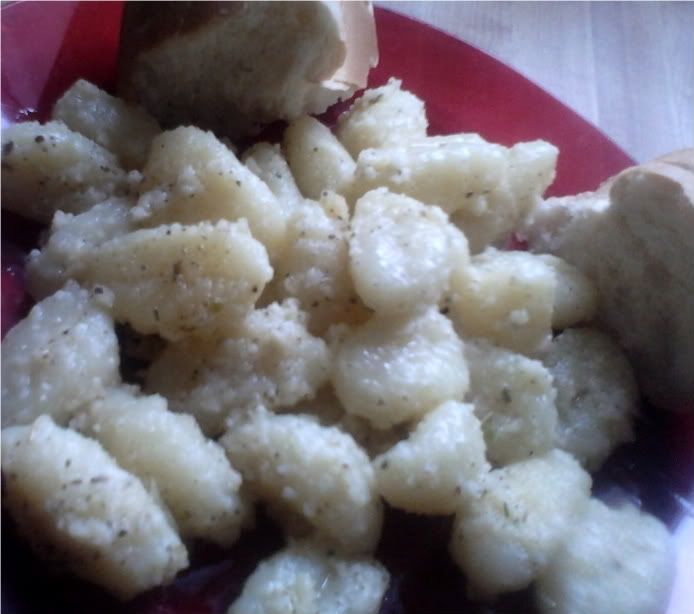
Gnocchi with Sage-Butter Sauce


I love one of the grocery stores around here. They have a recession buster sale twice a month. They send out colorful fliers with tons of items for $1 and lunch meats for less than $3 per pound. I always make sure to stock up on some of the essentials that I know will be used eventually. I always, always pick up some pasta. 


I've talked about my eh feelings towards Italian foods before. There is one particular pasta that I can not get enough of and always keep an eye out for during recession buster sales - gnocchi. Everytime we go to Italian restaurants like the Olive Garden, you can bet that I am going to order gnocchi every.single.time. I found this recipe when searching for something to do with the boxes that I bought on my last recession buster trip. This recipe was so easy to pull together and done in a flash. I love meals that can be pulled together using ingredients from my pantry. On Tuesdays when I don't have much time to prepare dinner, this was perfect option. I can imagine it also being used as a side dish, if needed. 

Ingredients

2 (12 ounce) packages potato gnocchi
1/4 cup butter
1 clove garlic, minced
1 teaspoon dried sage
1/4 teaspoon salt
1/4 cup grated Parmesan cheese
1/4 teaspoon ground black pepper
2 tablespoons grated Parmesan cheese

Directions

Bring a large pot of lightly salted water to a boil over high heat. Add the gnocchi pasta, and cook until they float to the surface, 2 to 3 minutes. Drain the pasta and set it aside.

Melt the butter in a skillet over medium heat. Stir in the garlic, and cook until tender and turning golden brown, about 4 minutes. Stir in the sage and salt to combine, and then add the cooked gnocchi. Toss gently with 1/4 cup of Parmesan cheese and the pepper.

Serve with remaining tablespoons of Parmesan cheese sprinkled on top.

Source:  Gina S, AllRecipes


Friday, March 18, 2011

Root Gratin

During my week of side dishes, I had root gratin planned on the menu. Then, a horrible case of stomach flu hit me. I barely made anything that well. I had all of the ingredients that I bought during my weekly shopping trip and didn't want to risk them going bad.


I adapted the recipe slightly for the cheese that I already have on hand. I was worried about the taste of the parsnips, sweet potato, and potato all together. The flavors all blended, married, and became very happy together with a house, a dog, a baby, and tons of bills to pay. 


Ingredients
1 pound parsnips, peeled
1 pound sweet potato, peeled
1 pound russet potatoes, peeled
1 cup milk
1/2 cup low-sodium chicken broth
1 tablespoon minced garlic

6 ounces cheddar cheese, shredded
1 teaspoon salt
2 teaspoons freshly ground black pepper

Directions

Preheat oven to 400 degrees with rack placed in the middle position. 

Slice vegetables into 1/4 inch thick slices. In a large bowl, toss vegetables with milk, broth, garlic, cheese, salt, and pepper. 

Cover with aluminum foil and bake for one hour. Vegetables should be fork tender. When tender, remove foil and turn broiler on high. Broil gratin until top is golden, three to four minutes. Let cool ten minutes before serving. 


Source: Guy Fieri, Food Network


Friday, March 4, 2011

Eggplant Croquettes

Eggplant is a relatively new beast, at least for me. I have watched tons of recipes about it on Food Network, but have never really tackled something with eggplant. While innocently shopping, I came across a beautiful looking eggplant. It smiled and winked at me, let out a Joey-from-Friends-esque "how you doin'?" and that was it. The eggplant was in my cart.

Once the beautiful eggplant sat in my fridge, I set out to find a perfect recipe. I thought of eggplant parmigana, stuffed eggplant, and even eggplant lasagna. Having never cooked with eggplant before, I knew that I wanted to keep it as a side so that I could feature it here on the blog. This week is about expanding my side dish repertoire, after all.

After finding a recipe, I thought about the fact that breadcrumbs were used and anything that I tend to make with them becomes mushy. Nothing against breadcrumbs. I like breadcrumbs. I have two containers of them in my pantry (again, overstocking.) It seemed that these would be tastier with a pretty good crunch of panko bread crumbs instead of the mush that I would risk ending up with. 

Ingredients
1 large eggplant, peeled and cubed
1 cup shredded sharp Cheddar cheese
1 cup Panko bread crumbs
1 tablespoon canola oil
2 eggs, beaten
2 tablespoons dried parsley
2 tablespoons chopped onion
1 clove garlic, minced
1 cup vegetable oil for frying
1 teaspoon salt
1/2 teaspoon ground black pepper

Directions
In a skillet, add panko bread crumbs and oil. Toss together until panko is coated. Toast the panko while stirring occassionally until brown.This should take about 4 to 5 minutes over medium-high heat. Be sure to allow the bread crumbs to cool before adding to the eggplant mixture so the eggs do not start to cook with the heat. 
Place eggplant in a microwave safe bowl and microwave for 3 minutes. Turn eggplant over and microwave another 2 minutes. If the eggplant is not tender at the end of 5 minutes, place it back into the microwave for 2 minute increments until soft enough to mash. Drain any liquid from the eggplant and mash.
Combine cheese, cooled bread crumbs, eggs, parsley, onion, garlic and salt with the mashed eggplant. Mix well.
Shape the eggplant mixture into patties. Heat oil in a large skillet. Drop eggplant patties one at a time into skillet. Fry each side of the patties until golden brown, approximately 5 minutes on each side. If you choose to make these ahead of time, the patties may be placed into the freezer until ready to be used.

Wednesday, March 2, 2011

Fried Rice


It is funny how food can spark nostalgia. When I think of Chinese take out, I think of going to the mall with my sister and grabbing some chicken teriyaki. We don't get to see each other very often because of our hectic schedules, but we always try to fit in one mall trip a month. We always, always, always get the chicken teriyaki with fried rice. Yum. 

Saying that I love Chinese food would be an understatement. However, living on a tight budget doesn't allow much room to order take out as much as I'd like to. Thanks to a little bit of searching and testing, I have found a fried rice that is delicious and doesn't break the bank. The original recipe called for ham, but I adapted it for a chicken household. This recipe, as the title states, is very adaptable and may be changed based upon your taste. Overall, a wonderfully delicious side that is my go-to for any take-out themed nights. 

On a side note, I was so excited to get my new camera batteries in the mail. After letting the battery charge, I took it home ready to take a picture of this beautiful rice. However, my camera had other plans and the battery was dead. One of these days, I am going to have a camera that works. 

Ingredients
2 cups uncooked basmati rice
2 cups water
1/2-3/4 cup chicken stock
chicken breasts (I usually use two or three.)
1 cup frozen peas
1 cup carrots
1 medium onion, diced
2 eggs
3-4 tablespoons canola oil (or peanut oil)
1/4 teaspoon salt
2 tablespoons soy sauce

Directions
Cook your rice. You want it a bit on the crunchy side, so resist the temptation to add more water. Let your rice cool completely. I even spread it out on a baking sheet and put it in the freezer for a few minutes if I'm in a hurry. You can even cook your rice the night before and let cool in the fridge.

Heat a wok over high heat with 1 tbs. of oil. Add eggs and scramble until cooked. Add peas, carrots, onion, or any other vegetables of choices and fry for about a minute. You can add or omit any veggie/meat combo you want. 

Remove omelet from wok. Clean the wok out a bit so the leftover egg doesn't burn while you're heating up your wok and oil again. Add remaining oil to the wok and heat over high heat until it is very hot. Add your cold rice to the wok and stir to coat every grain, adding more oil as needed.

Add chicken stock to the rice a little bit at a time to give the rice a chance to soak up the liquid. I'm not sure exactly the amount of stock to be added; I eyeball it because it seems to change every time. Basically, you want the rice to soak up the flavor, but you don't want to put in too much as it will end up quite sticky.

Stir fry for a while, stirring constantly until there is no liquid left, then chop up your omelet and add it, along with the soy sauce and salt. Stir to combine. You can add more or less soy sauce and salt according to your taste. NOTE: In this case, the salt is simply to enhance the flavor of the dish, not to make it salty.

Tuesday, March 1, 2011

Elly's World Famous Black Beans

"Beans, beans the magical fruit..." This week I have decided to focus my attention on expanding the side dishes that we have in our lives and our tummies. With some wonderful sales on produce, I am so very excited for all of the side dishes that I have planned for the week. Admittedly, I rarely put thought into the sides and focus my efforts on the main dish. With meals that involve larger cuts of meat that can hang out in a crock pot all day, I think that it is the perfect time to focus on our side repertoire. 


After a long day at work, I came home to a sick husband and child. I wanted something quick and simple, tacos. I had a can of black beans in my pantry and knew exactly what to do with them - Elly's World Famous Black Beans. I came upon Elly's website when I was lured by the chicken gyros that were in another blog. Mmm...chicken gyros. I have read a lot about the black beans and thought I'd take the perfect opportunity to make them. 


I am psyched for my leftover beef and black bean burritos for lunch today. I am even more excited for the fact that my new camera battery came in yesterday. After letting it load, I am excited to be able to take pictures of food again and learn more about my camera. 


Ingredients
2 tsp. canola oil 
1/4 cup diced onion 
1 fat clove garlic, minced 
1 Tbsp. tomato paste 
1 bay leaf 
1 can of black beans, drained and rinsed 
1/2 - 2/3 cup chicken broth 
1/4 tsp. chili powder 
3/4 tsp. cumin 
1/2 tsp. oregano 


Over a skillet on medium heat, add canola oil and onions. Cook until onions are translucent. Add in the garlic, tomato paste, and bay leaf. Stir until tomato paste cooks down, approximately one minute. 


Add the black beans to the pan, mashing half of them with a masher or spoon. Add chicken broth, chili powder, cumin, and oregano. Stir to combine. Allow to simmer for 10 to 15 minutes or until firm. 


Source: Elly Says Opa

 
Blog Design by Delicious Design Studio